My Introduction to intaglio Printmaking: Etching, a World of Contrasts
Last year, I spent two weeks in Kyoto to discover the art of Japanese woodblock printing, known as mokuhanga. That first experience with printmaking really resonated with me and sparked a desire to explore the medium further. I had already come across stunning etching artworks on Instagram and seen prints in various museums, but I had never truly understood how they were made.
In this article, I’ll share what I learned about intaglio printmaking, including etching, aquatint, and the various steps involved in creating a print.
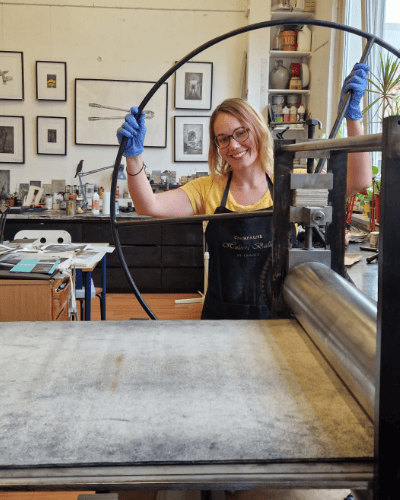
A Workshop in Strasbourg: Ink, Emotion, and Childhood Memories
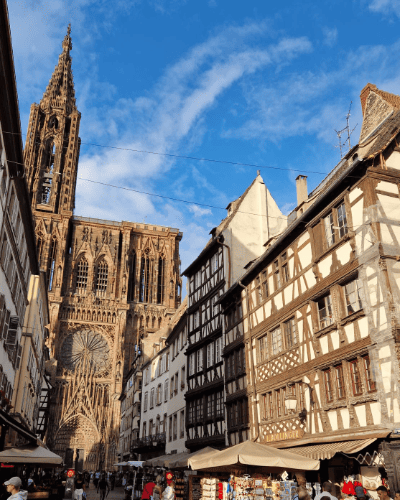
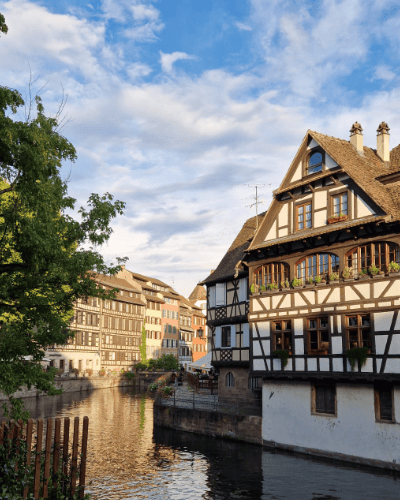
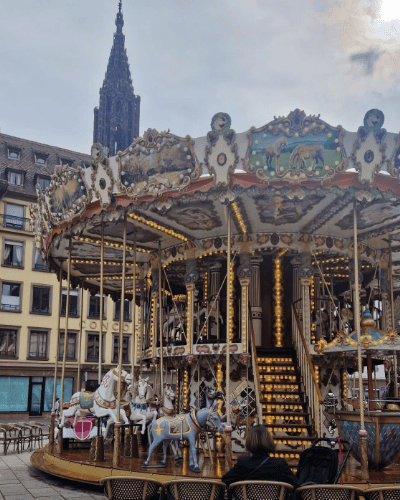
To dive in, I treated myself to a 5-day workshop with the artist and intaglio printmaker Alban Dreyssé, in his studio Imago, located in Strasbourg. The choice of Strasbourg wasn’t random — this city holds a special place in my heart. I used to spend summers and Christmas holidays there as a child, staying with my great-aunt Marie-Louise. So returning for a week-long creative retreat was both emotional and joyful.
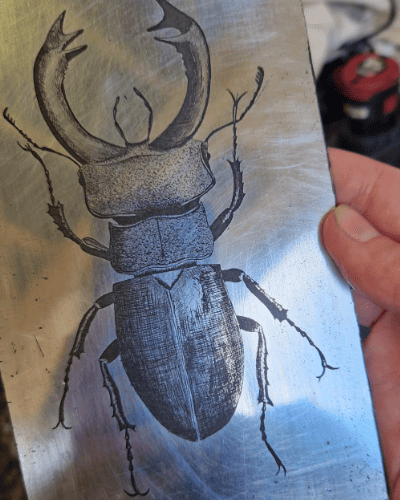
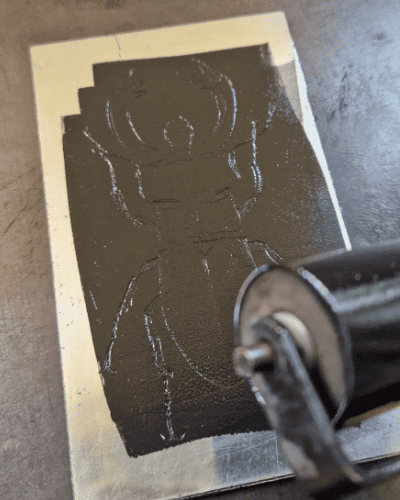
Choosing a Subject: An Impressive Beetle
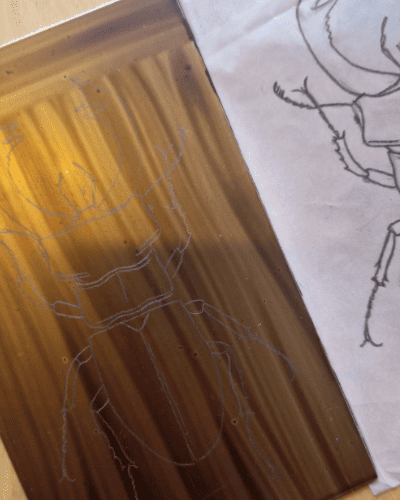
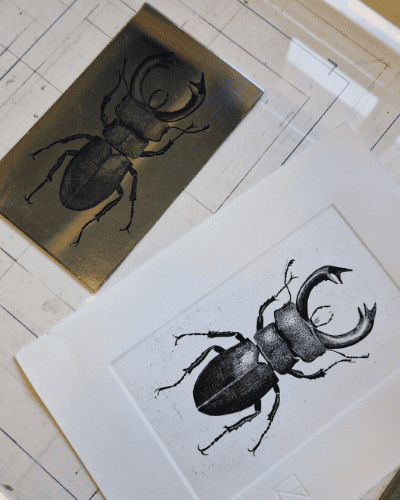
Intaglio offers a wide range of creative freedom when it comes to choosing your subject. For this first attempt, I decided to draw an insect I’m particularly fond of: the stag beetle (Lucanus cervus).
I wanted a realistic and delicate style, with fine lines, cross-hatching, and some stippling. I sketched it first on tracing paper to later transfer it onto the plate.
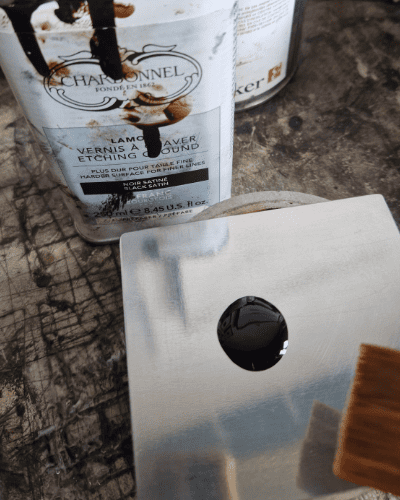
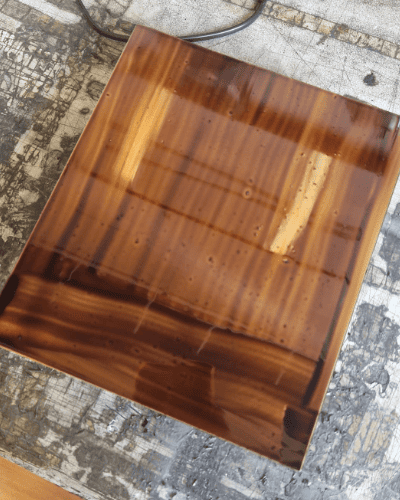
Preparing the Plate: Polish, Degrease, Varnish
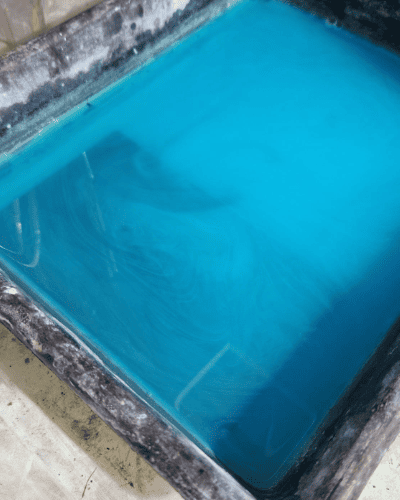
For this first print, I used a combination of etching and drypoint. Etching involves covering a metal plate with a protective ground (varnish), and then submerging it in an acid bath. Where the varnish is scratched off with a drypoint needle, the acid “bites” into the exposed metal. The longer the exposure, the deeper the line — which means more ink and a deeper black when printed.
I used a zinc plate, but copper or Ragolan (a type of plexiglass) can also be used.
The steps:
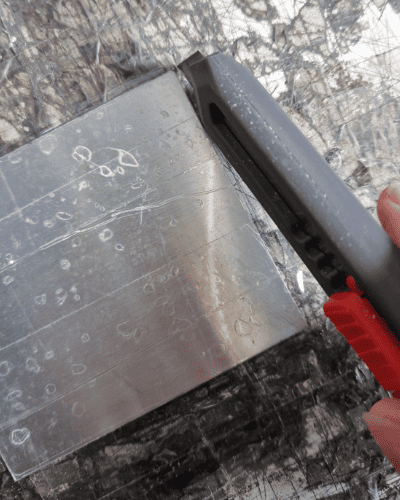
Cut the plate and protect the back with tape.
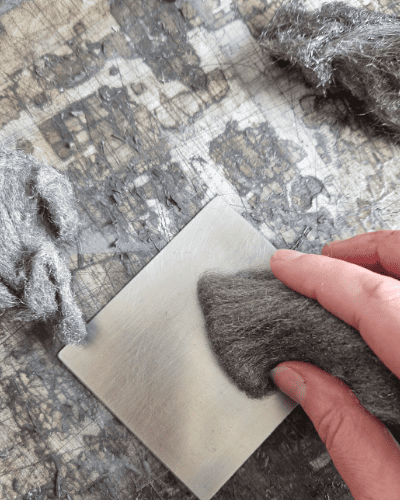
Polish the surface with various grades of steel wool to remove any scratches.
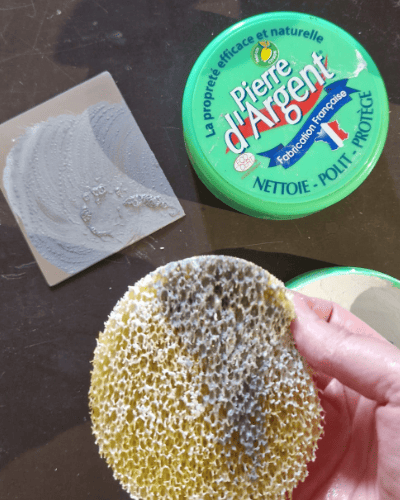
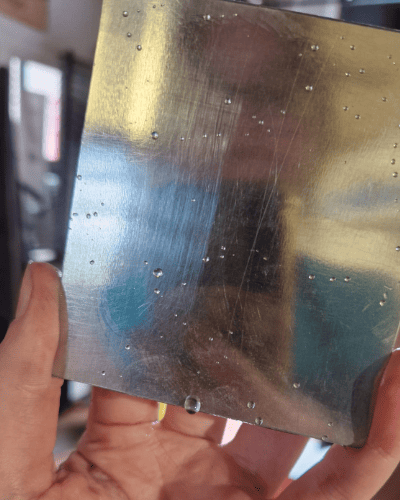
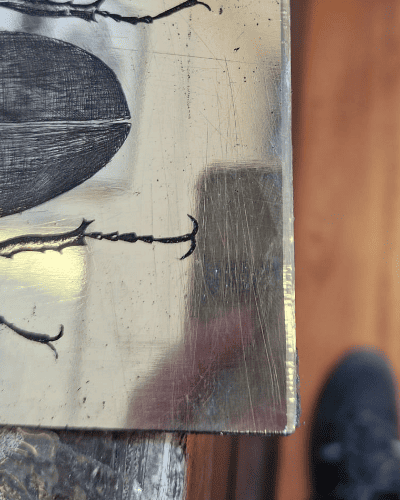
Polish further with “silver stone” (pierre d’argent) until it’s smooth and reflective — not quite a mirror, but close.
Degrease the plate using acetone or denatured alcohol.
Apply the hard ground varnish, then let it dry.
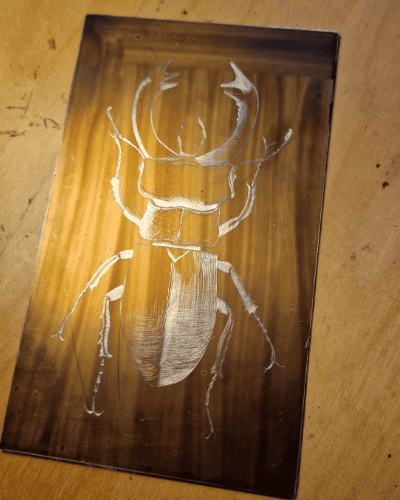
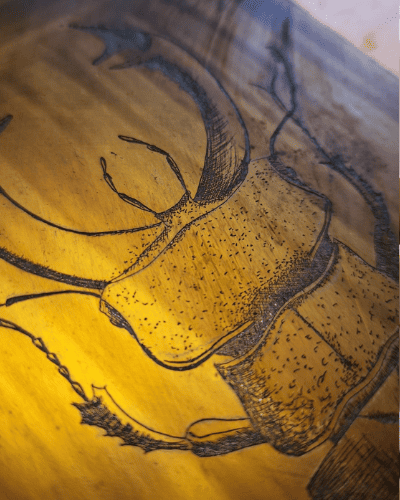
Drawing with a Drypoint Needle, Then Etching the Plate
Once the sketch is transferred, I begin engraving with a drypoint needle. It’s very precise and quite satisfying to use — a light touch is enough to remove the varnish.
I start with the darkest areas, as these parts will be exposed to the acid the longest.
First acid bath: 20 minutes in my case (timing can vary depending on the desired depth). After that, I go back in and draw the mid-tones and lighter areas, repeating the acid process for shorter times depending on the effect I want.
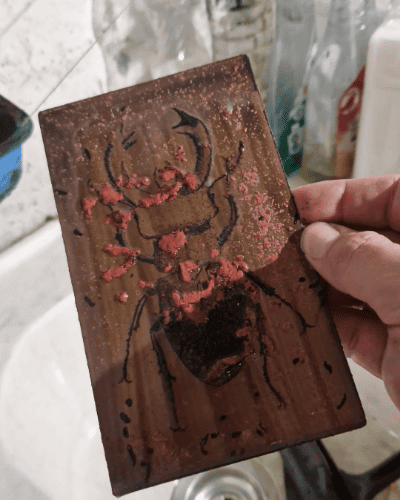
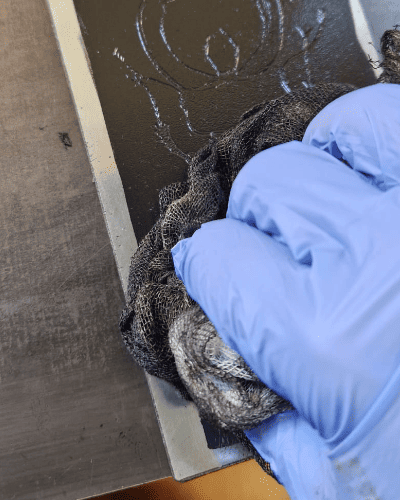
Inking the Plate: A Repetitive but Satisfying Ritual
Once the plate is fully etched and cleaned, it’s time for inking. I apply ink across the entire surface, then remove the excess using:
tarlatan cloths (a special net-like fabric),
and newspaper sheets for fine adjustments.
It’s a repetitive and meditative process that requires patience and attention to detail.
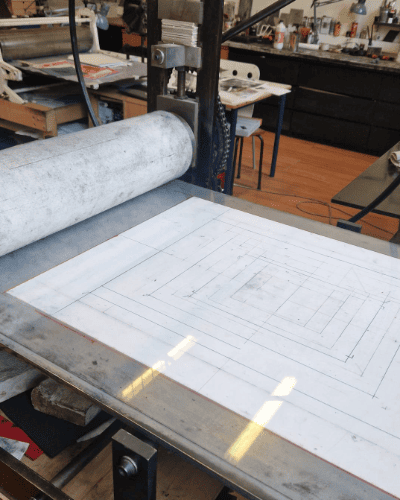
Time to Print!
Now comes the fun (and slightly physical) part: the press. I soak the paper beforehand, place it over the inked plate, then run everything through the press — using guide marks for perfect registration.
This first state proof allows me to check for needed adjustments on the plate or inking.
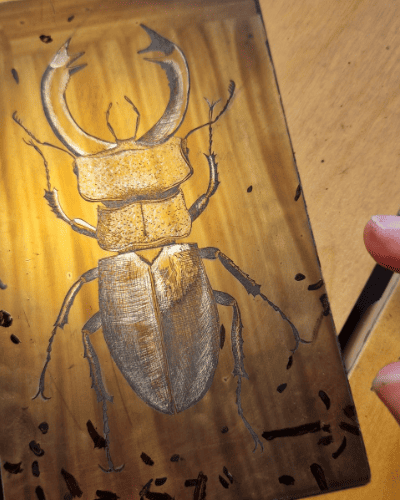
The Final Result: Deep Blacks, Subtle Light
Once satisfied with the print, I polish the plate’s edges (called chamfering) with a file to give it a clean finish. I remove the tape, clean it once more… and admire the final result.
My Impressions: Drawing With Acid
I really enjoyed working with both drypoint and etching. It’s surprisingly close to drawing — but with a twist. Unlike traditional drawing, where we usually work from light to dark, intaglio printing flips the process: 👉 we start with the darkest lines (longest acid exposure), then gradually add lighter tones with shorter etches — sometimes as short as 1 minute.
It’s a fascinating balance of control, intuition, and technical precision.
What’s Next?
This workshop gave me the opportunity to explore various intaglio techniques: etching, aquatint, drypoint, and even a first taste of mezzotint. I can’t wait to keep practicing and already have more workshops in mind!
If you’re interested in trying intaglio printmaking yourself, I highly recommend Alban’s studio in Strasbourg(in French).
I’ve written two more articles from this same workshop: 👉 Drypoint on Plexiglass: A Different Kind of Line 👉 When Agate Reveals the Light: Exploring Mezzotint
Nous utilisons des cookies pour vous garantir la meilleure expérience sur notre site web. Si vous continuez à utiliser ce site, nous supposerons que vous en êtes satisfait.
Vous pouvez révoquer votre consentement à tout moment en utilisant le bouton « Révoquer le consentement ».